Change Exam Type (Before ATT)
To change your exam type before being issued an ATT, follow the steps below:
Change Exam Type
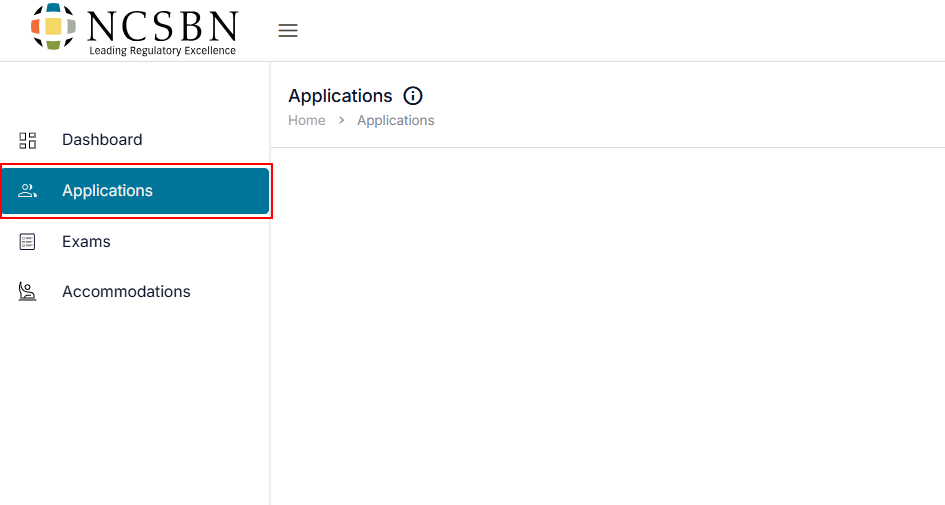
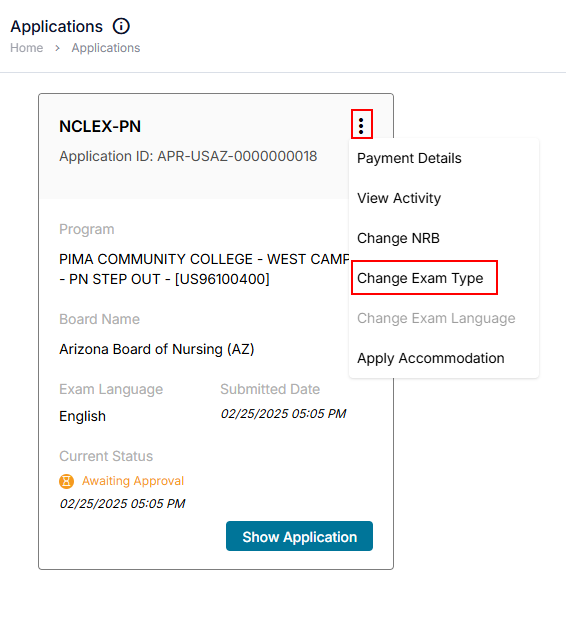
- Click Applications on the left-side menu.
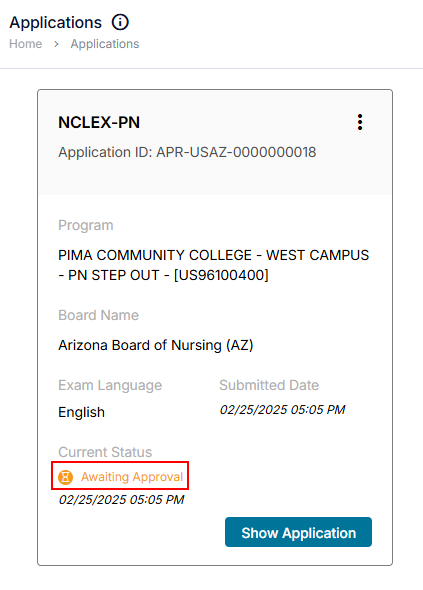
- The status of the application will be shown as Awaiting Approval.
- To switch from the NCLEX-PN exam to the NCLEX-RN exam, click the
three dots in the top right corner.
- From the dropdown menu, select Change Exam Type.
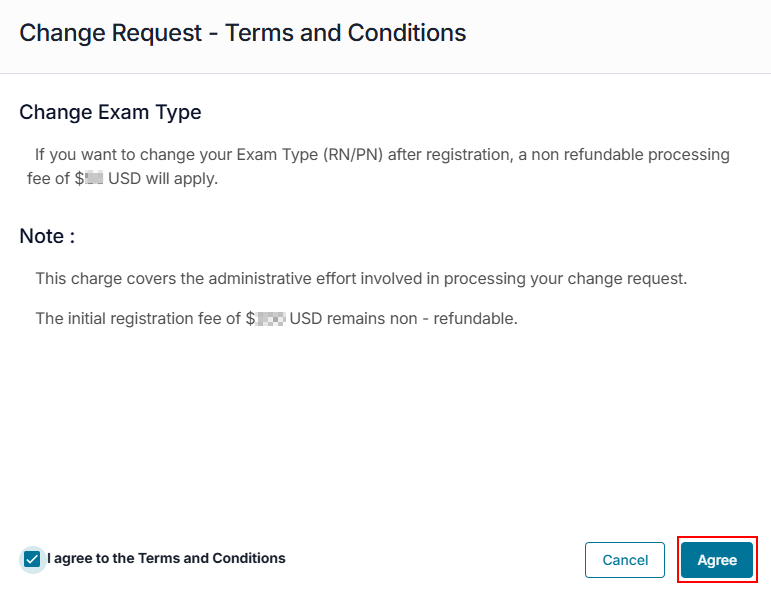
- To continue, click the I Agree to the Terms and Conditions check box, then click the Agree button to confirm and proceed. Click Cancel to exit the process and remain on the same page.
Note: By clicking Agree, you acknowledge that a non-refundable fee will be applied after registration.
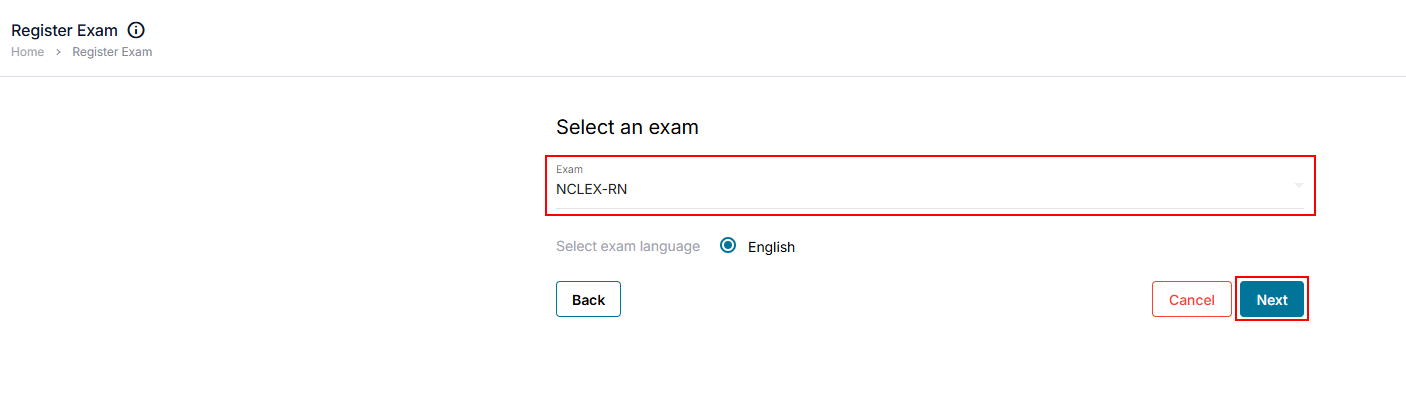
Select an Exam
- Click the Exam dropdown and select the exam you wish to change.
- To proceed, click the Next button. To exit without saving, click the Cancel button. Click the Back button to return to the previous page.
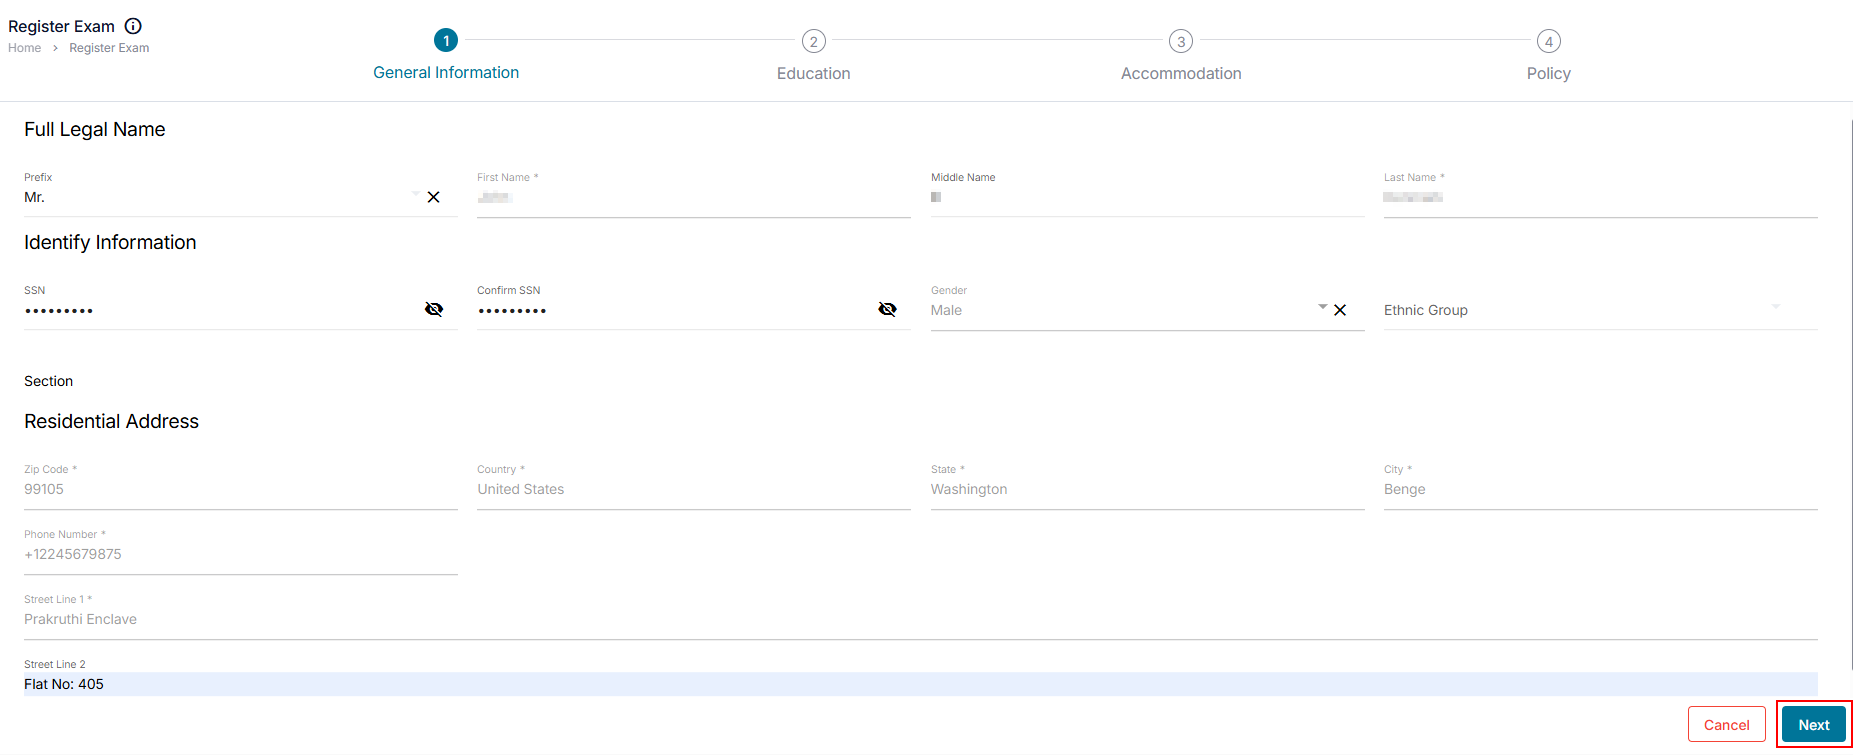
General Information
- The next step in the application process is completing the General Information form.
Note:- All fields marked with an asterisk (*) are mandatory and must be completed.
- The following fields will be automatically prepopulated for you and cannot be edited: First Name, Gender, Last Name, Zip Code, Country, State, and City. If a change is needed, the candidate can go to the demographic form (For more information on demographic forms, click Section Profile)and request the change.
- Ensure that you review the prepopulated information in the form. The form may vary based on the NRB.
- Click the Next button to proceed. To exit without saving, click the Cancel button.
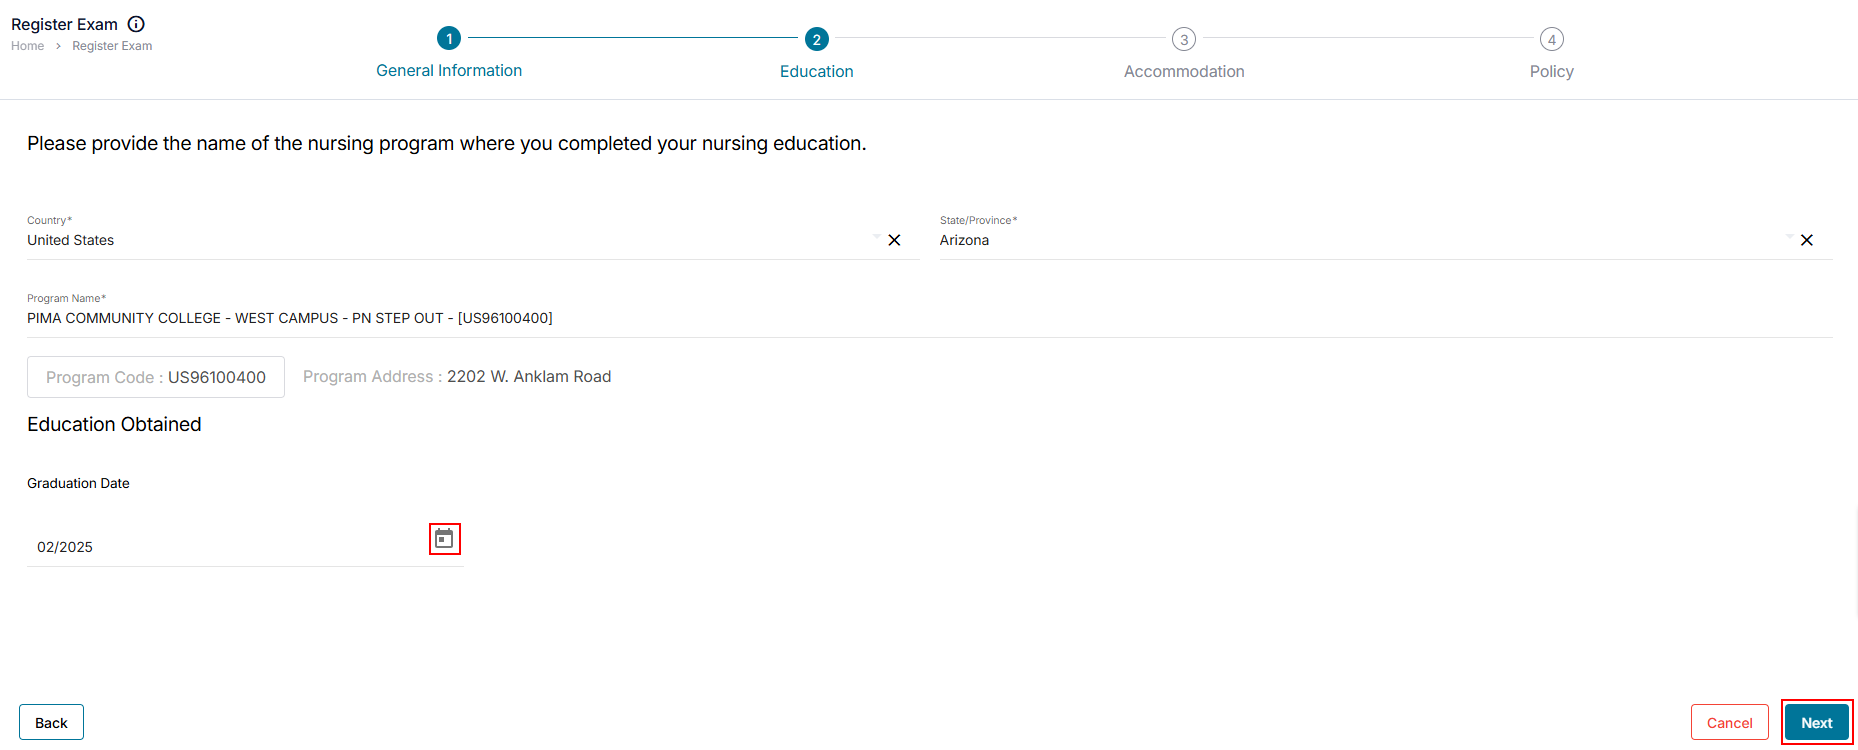
Education History
- On the education page, provide the details of your completed education.
- Complete all required fields which may include Country, State, Program Name, and Graduation Date.
- Click the Next button to proceed with the Accommodation page. To go back to the previous page, click the Back button. To exit the form without saving, click the Cancel button.
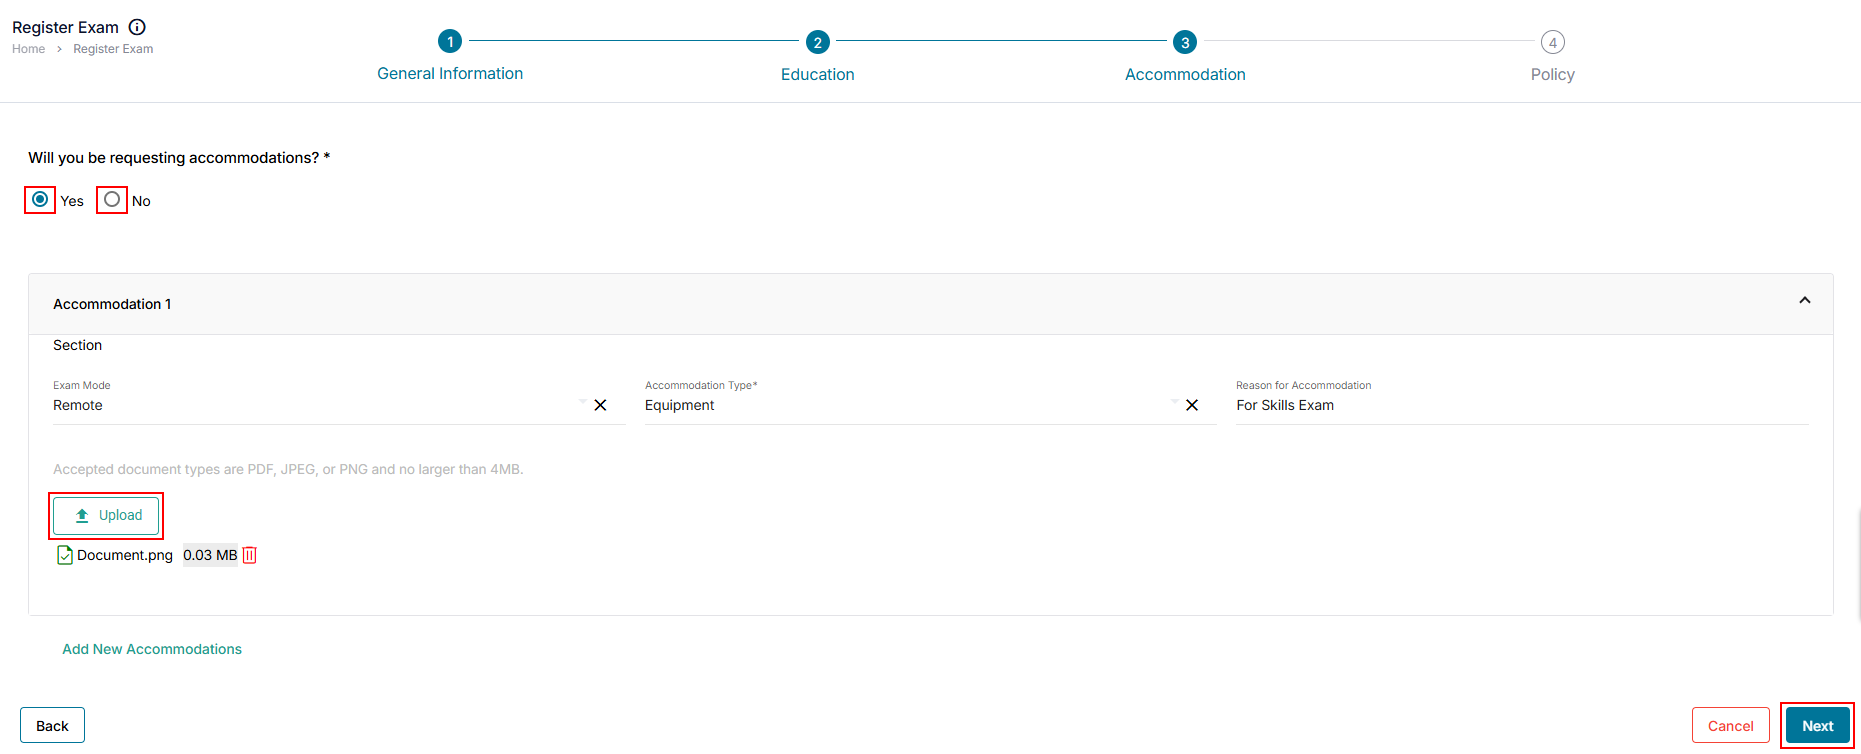
Accommodation
- If you do not require accommodation for your exam, select No and then click Next.
- If you require accommodation for your exam, select Yes and select your Exam Mode (Remote or in Test Center), Accommodation Name, and Reason for Accommodation.
- After you have provided your accommodation information, upload supporting documentation. Accepted document format includes PDF, JPEG, or PNG and must be no larger than 4 MB.
- If you require more than one (1) accommodation, click Add New Accommodation to add additional accommodation requests.
- After adding the accommodation details, click the Next button to proceed. To return to the previous page, click the Back button. To exit without saving, click the Cancel button.
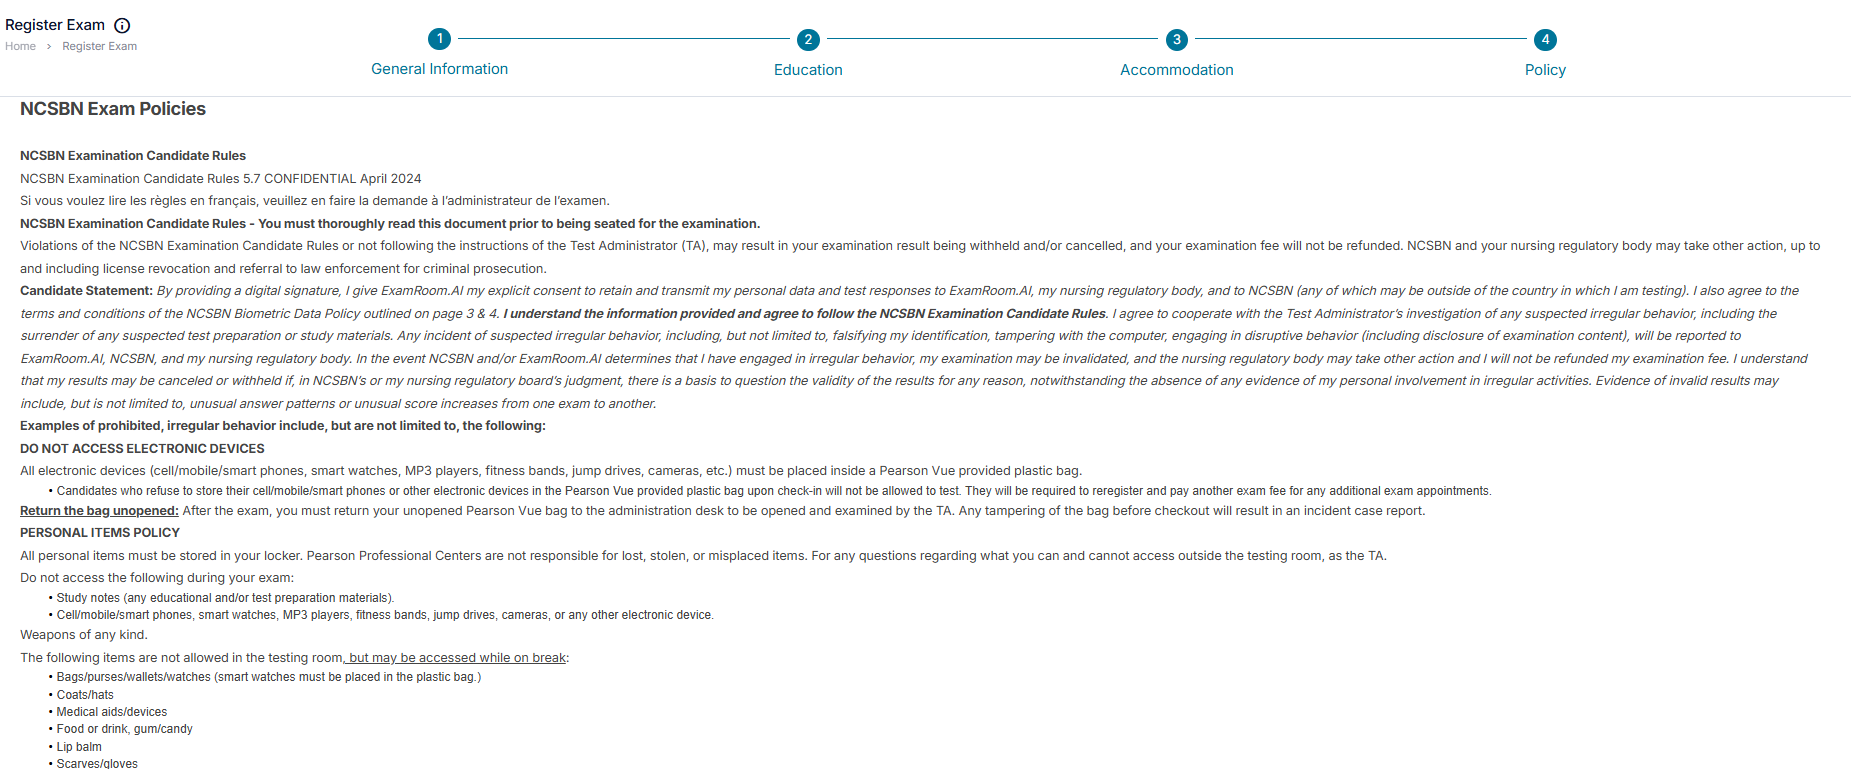
SBN Exam Policies
- Once you have completed the registration form, please read the policies, agree to the Terms and Conditions, and agree to the NCSBN Biometric Policy.
- Click the Submit button to submit your exam registration application for review and approval. To return the previous page, click the Back button. To exit without saving and submitting, click Cancel.
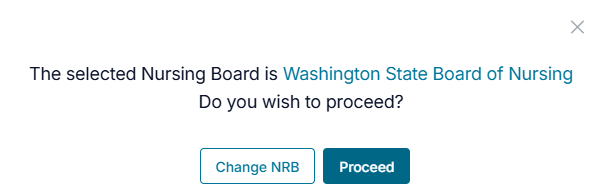
- To proceed with submitting your registration application, click Proceed to continue to payment. To change your NRB or exam type, click Change NRB.

Payment Information
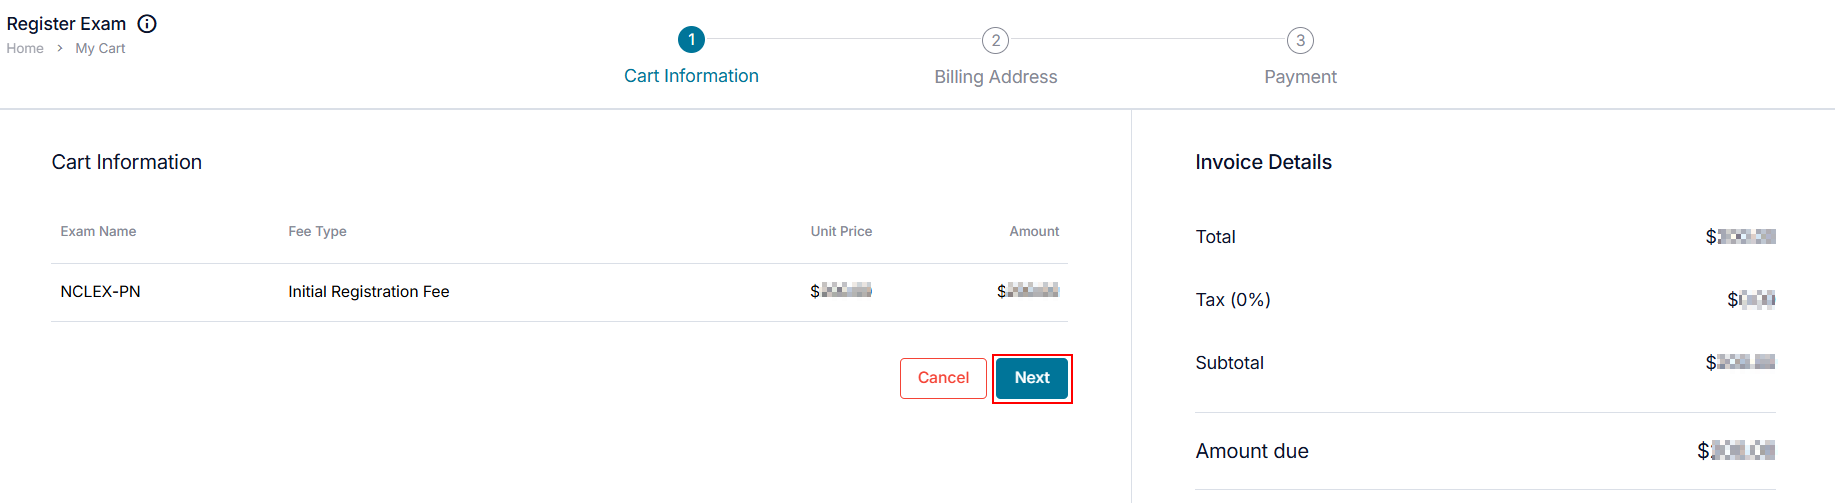
Cart Information
- In the cart information, the Exam Name, Fee Type, Unit Price, and Amount will be displayed.
- Click Next to proceed to the billing address. To exit without making a payment, click Cancel.
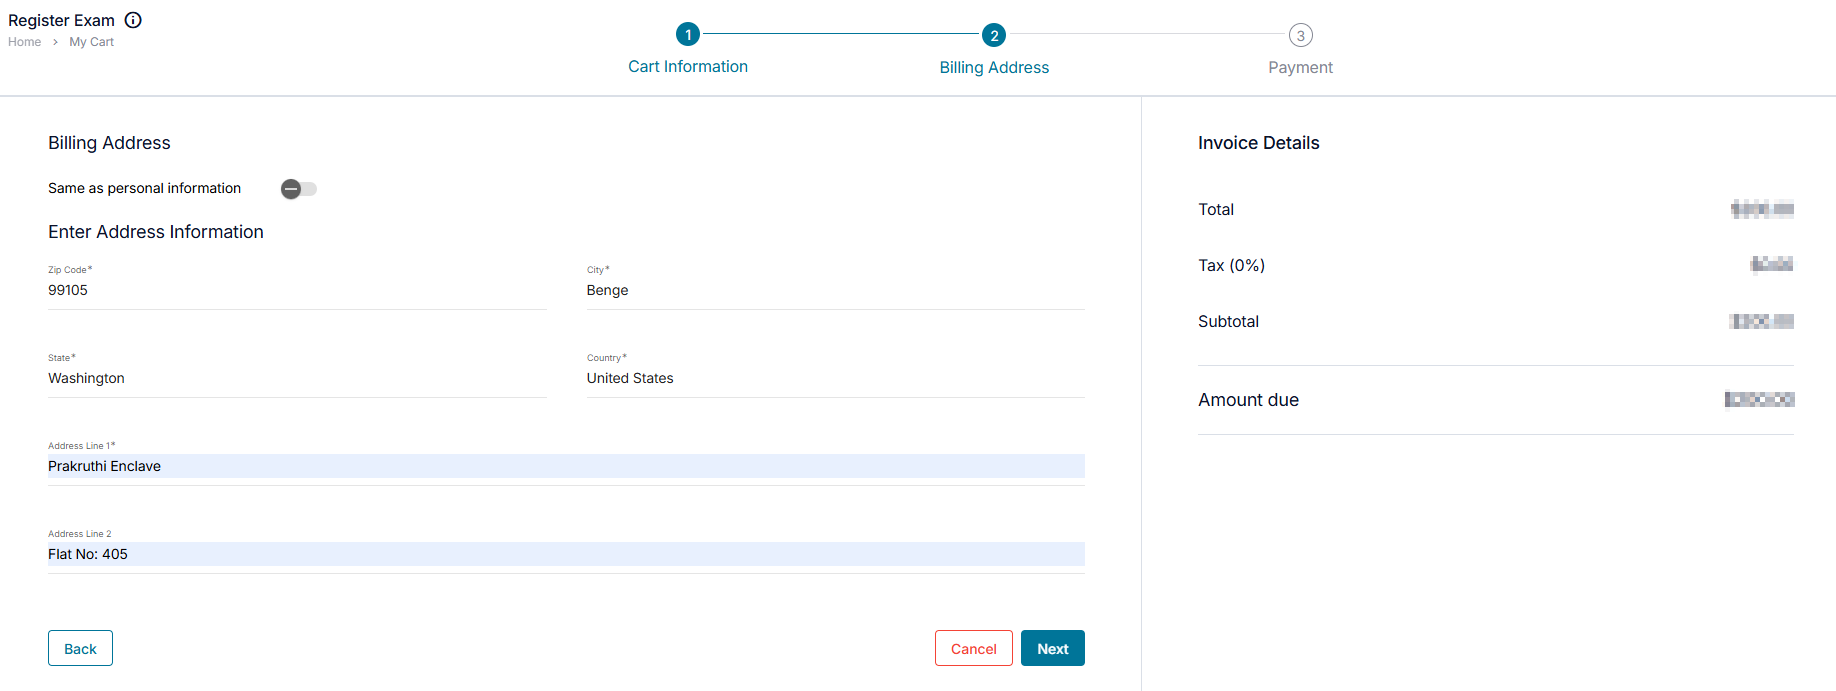
Billing Address
- Enter your billing address associated with your payment method. If it is the same address in your application, click Same as personal information.
- Click Next to proceed with the payment. To go back to the previous screen, click Back. To exit without saving, click Cancel.
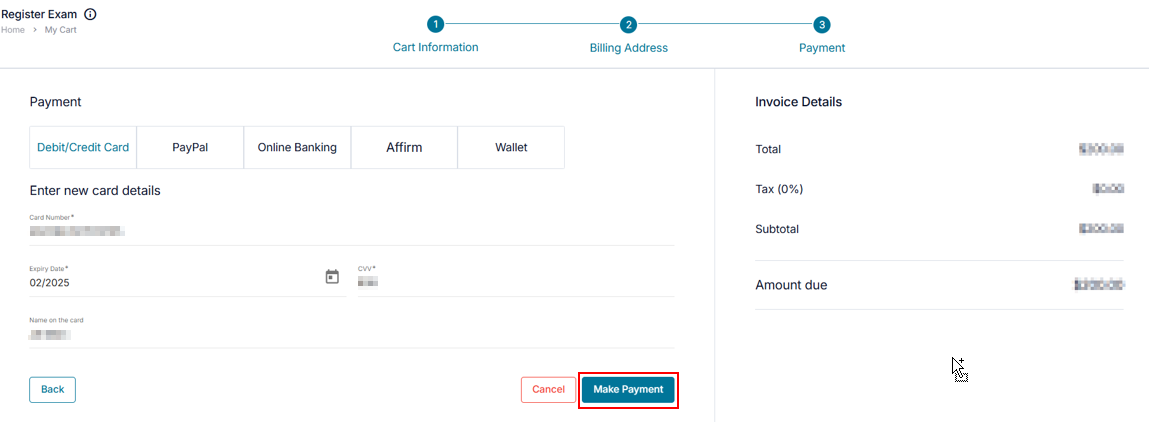
Payment
- Select a payment option from Credit Card, PayPal, Online Banking, Affirm, and Wallet.
- Enter the payment details based on your payment method.
- Click Make Payment to complete the transaction. To return to the previous page, click Back. To exit without making a payment, click Cancel.
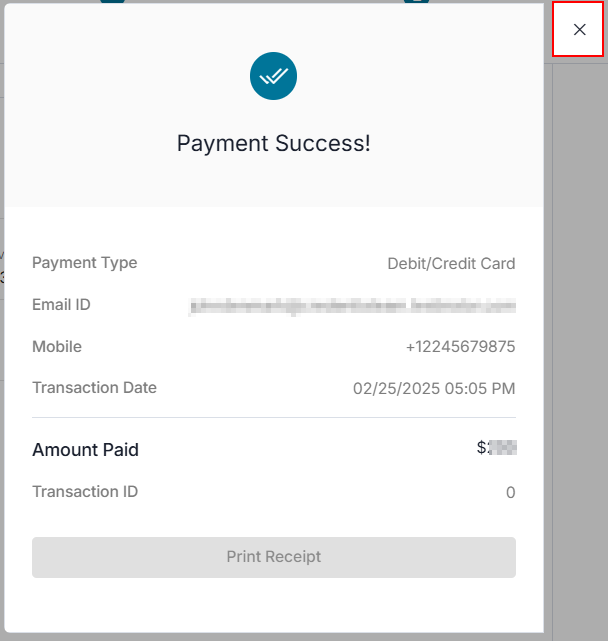
Payment Success
- After clicking Make Payment, you will receive the payment receipt.
- Click the X close icon in the top right corner, to close the payment receipt.
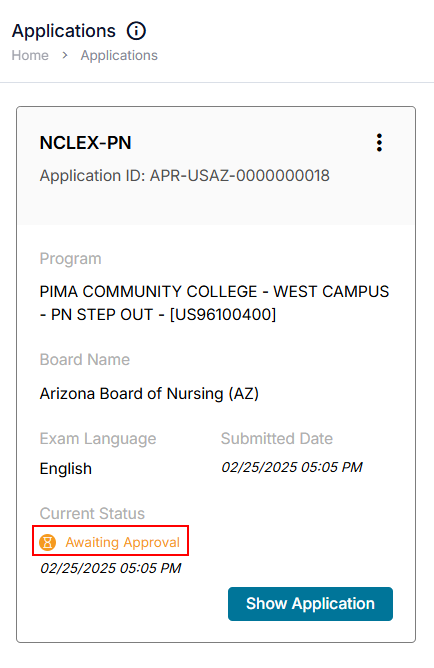
- After clicking the X close icon, you will be able to view the application. The new application status will show as Awaiting Approval.
Note: Payment Information: A fee will be required from the candidate upon completion of the process.